In this guide:How to run a quantum program on IonQ hardware using Amazon Braket
Time: 10-15 minutes
Expected knowledge: Basic familiarity with Amazon Web Services (AWS) is required. Some knowledge of quantum circuits and algorithms is strongly encouraged
System requirements: Internet access and an AWS account
Since the launch of Amazon Braket, it’s been easy to run quantum programs on IonQ’s trapped ion hardware using your Amazon account. This guide will walk you through running your first quantum program on AWS.
Before you begin
To use Amazon Braket, you’ll need an AWS account with the appropriate permissions.
First, create a free AWS account: https://aws.amazon.com/free
1.1.To enable and run Amazon Braket, you’ll need the appropriate IAM permissions. For the purpose of this guide, attach the AmazonBraketFullAccess IAM policy to the account you’re using. (For more information on Braket permissions, see Amazon’s guide here.)
1.2. You’ll also need to make sure this account has S3 access. (S3 is Amazon’s static data storage system, and your Braket task results will be stored in an S3 bucket.)
2. Open the Braket console
3. Select Go to Braket
4. Either Create new bucket, or select an existing bucket to store your data
5. Review and Accept Amazon Braket’s Terms and Conditions
6. Select Enable Amazon Braket
Provision your first notebook
While Amazon Braket provides a powerful SDK (learn more here), its fully-managed Jupyter Notebooks are a quick and easy way to get started.
Open the Braket console
Choose Notebooks in the left pane, then choose Create notebook.
In Notebook instance settings, enter a Notebook instance name
—“SimpleBellState” is a good name for this quickstart project
Select the Notebook instance type. Choose the smallest type you need. For this guide, choose a cost-effective instance type, such as ml.t3.medium (this is the smallest type as of this writing, costing 5 cents per hour).
In Permissions and encryption, select Create a new role.
Select Create notebook instance.
It typically takes Amazon several minutes to provision your notebook; in the meantime, you’ll see it on the Notebooks page with Pending status. When it’s ready to use, the status changes to InService. You may need to refresh the page to display the updated status for the notebook.
Write your first program
Now that we’ve provisioned your notebook, you can write your first program using the Braket SDK.
Open the notebook you just created.
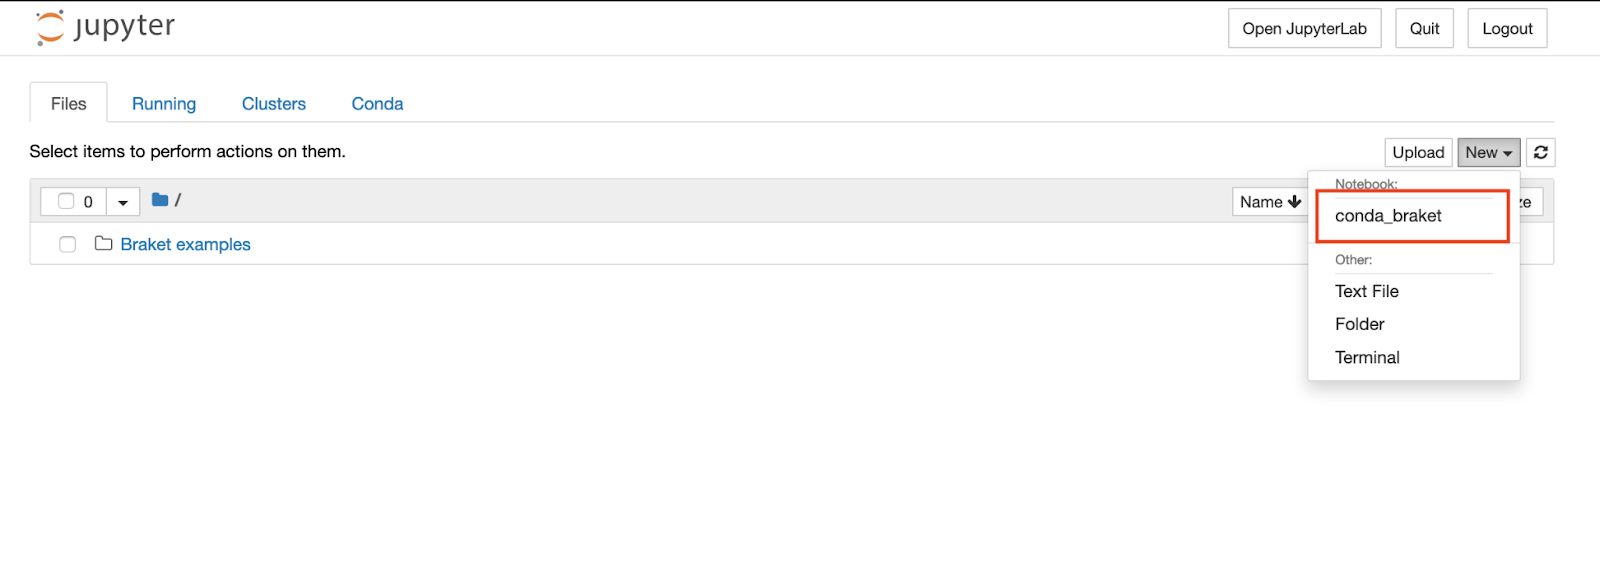
Amazon Braket notebook instances are pre-installed with the Amazon Braket SDK and all its dependencies. Start by creating a new notebook with
conda_braketkernel.
3. We’ll start with a simple “Hello many worlds” example. Import the Amazon Braket SDK modules and define a Bell State circuit:
import boto3
from braket.aws import AwsDevice
from braket.devices import LocalSimulator
from braket.circuits import Circuit
# create the circuit
bell = Circuit().h(0).cnot(0, 1)
4. Now, define a path in S3 where your results will be stored. You don’t need to go to the S3 interface to create it if it doesn’t exist yet; it will be created the first time something gets stored there via the Braket SDK.
my_bucket = "amazon-braket-output" # the name of the bucket
my_prefix = "ionq-quickstart" # the name of the folder in the bucket
s3_folder = (my_bucket, my_prefix)
Simulate the program
Next, choose the quantum device on which to execute the circuit. The Amazon Braket SDK comes with a local simulator for rapid prototyping and testing. We recommend using the local simulator for circuits up to 25 qubits (depending on your local hardware).
First, instantiate the local simulator:
# instantiate the local simulator
local_sim = LocalSimulator()
Then run the circuit:
# run the circuit
result = local_sim.run(bell, s3_folder, shots=100).result()
counts = result.measurement_counts
print(counts)
Counter({'11': 53, '00': 47})With 100 shots, your results will be something like the above.
Our Bell state circuit creates an equal superposition of |00〉and |11〉, so you’ll find a roughly equal distribution of 00 and 11 as measurement outcomes, as expected.
Run the program on hardware
Now we’re ready to run your program on an IonQ quantum computer, just by changing a single line of code! Choose one of our computers by specifying its device ARN:
# choose the Ionq device to run your circuit
device = AwsDevice("arn:aws:braket:::device/qpu/ionq/ionQdevice")
When you execute your task, the Amazon Braket SDK will poll for a result, with a default timeout of 5 days. You can restart the polling by calling the task.result() function.
# define task with 1 day polling timeout
task = device.run(bell, s3_folder, shots=1024, poll_timeout_seconds=24*60*60)
print(task.result().measurement_counts)
Counter({'11': 512, '10': 15, '01': 19, '00': 478})Congratulations, you’ve now run a quantum circuit on IonQ hardware using Amazon Braket!
Additional Resources
Our best practices page provides detailed instructions for getting the most out of our trapped-ion systems, and our support center is always available to help you solve any problems you might run into.
Want to learn more about working with Amazon Braket? AWS provides detailed developer documentation. Want to try other libraries? See quickstarts for IBM’s Qiskit, Google’s Cirq, or ProjectQ.